This website may contain affiliate links and advertising so that we can provide recipes to you. Read my disclosure policy.
Soft, rich, and loaded with delicious cookie butter flavor, this Biscoff cheesecake is sure to please! Everyone will be lining up for a slice.
When it comes to rich and creamy desserts, cheesecake is at the top of the list for me. It’s always so delicious! And adding cookie butter makes it even better. After you make this amazing Biscoff cheesecake, here are a couple of other recipes you need to try out: cranberry orange cheesecake, or gingerbread cheesecake for another great holiday dessert!

Cookie Butter Cheesecake
Ah, Biscoff cookies. They’re so simple but have the most addictive flavor! And they’re perfect for adding to all of your favorite desserts to make them taste even better. Enter Biscoff cheesecake – the holiday dessert that’s just what you need in your life.
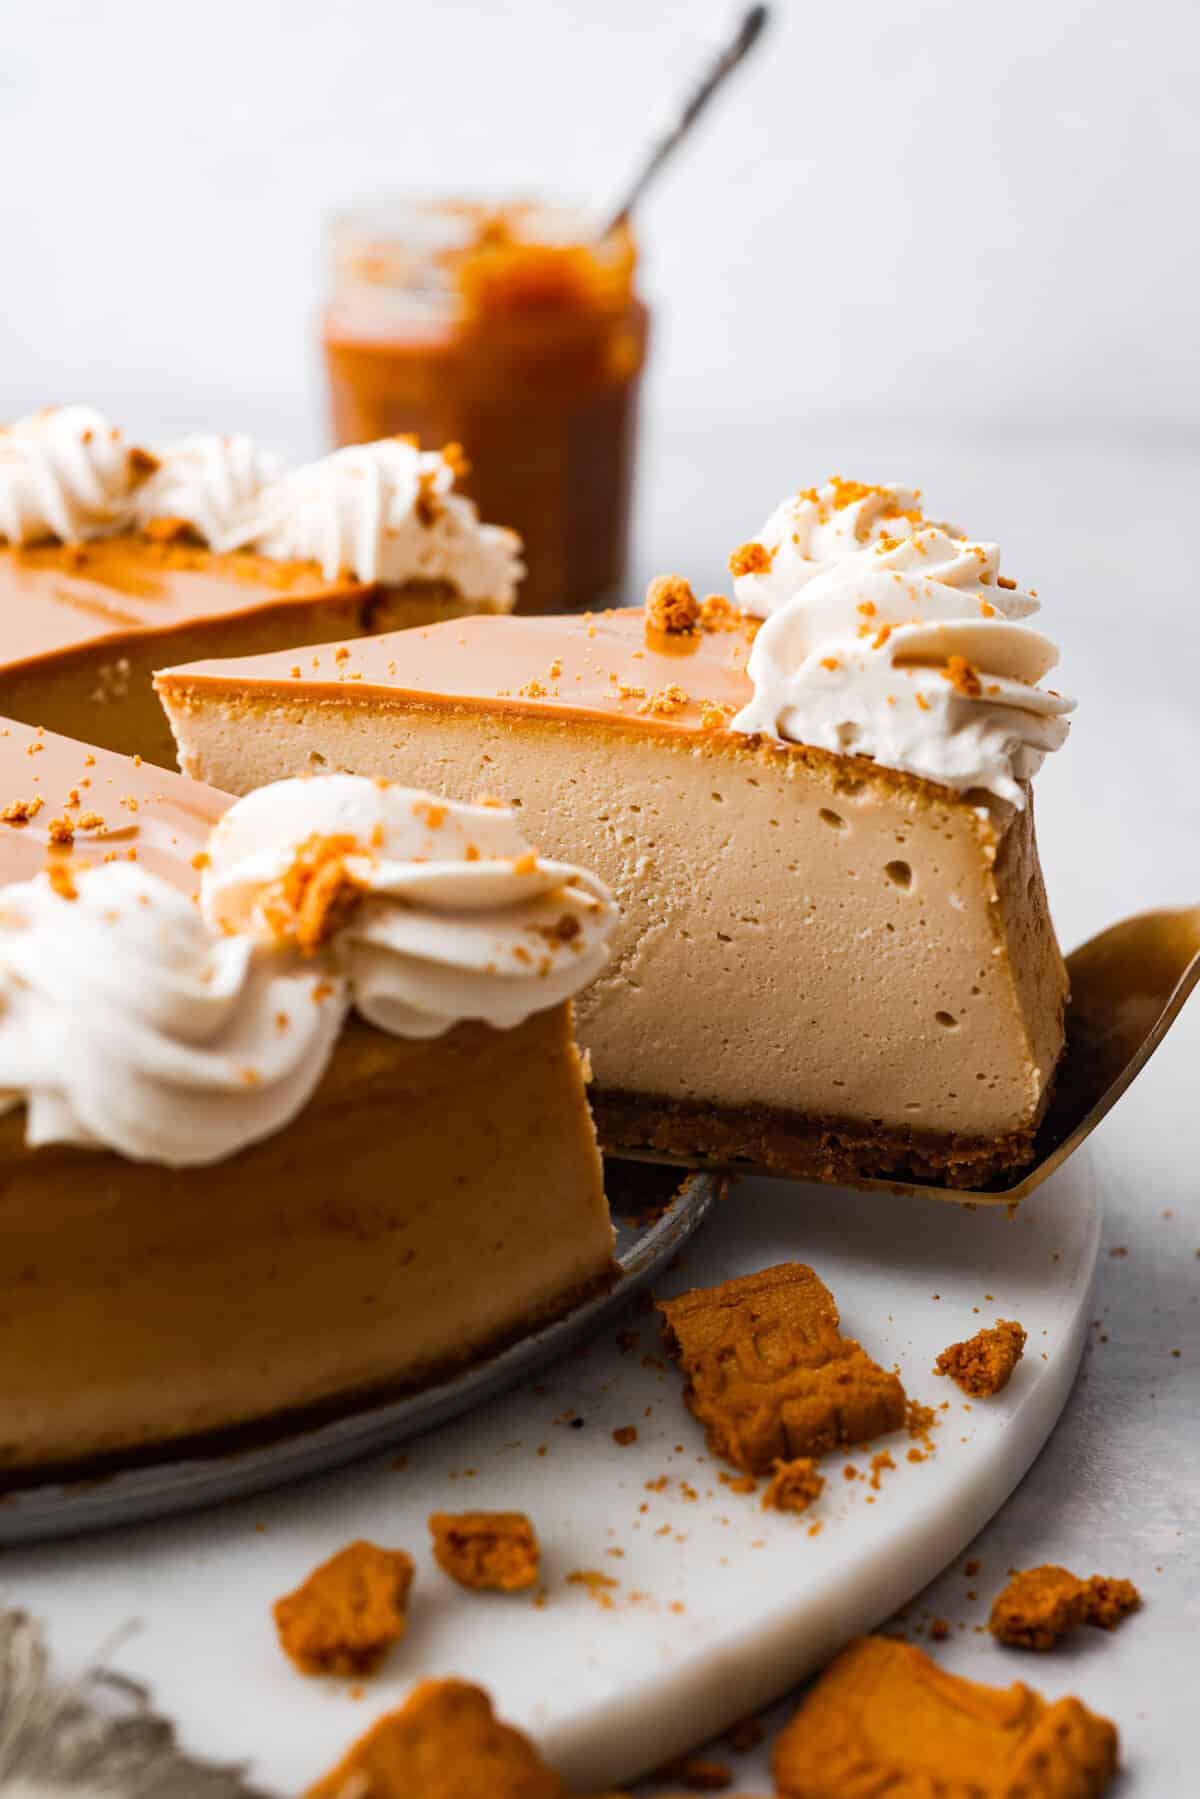
This Biscoff cheesecake is made with cookie butter spread to give each slice more of that nutty, spiced cookie flavor we all love. You can either buy this prepackaged at the store or make it yourself, whatever’s more convenient! The cookie flavor combined with the tangy, creamy cheesecake is to die for. I know making cheesecake from scratch can be time consuming and tricky at times, but trust me, it’s so worth it! I’ve broken down all the steps and added in tips so you can enjoy this amazing dessert. (And be just as obsessed with it as I am.)
Ingredients Needed
I know it looks like a lot, but most of these ingredients are either reused or pantry staples to make your life a little easier. Exact measurements are in the recipe card below. You can also click on ‘jump to recipe’ at the top of the post to get there!
Crust:
- Vanilla Wafers: These cookies are crushed and used as the base for the cheesecake crust. You could also use a graham cracker crust if you wanted.
- Brown Sugar: Adds sweetness and depth of flavor to the crust.
- Butter: So all the crust ingredients stick together. Butter also adds a rich and delicious flavor!
- Salt: Just a pinch to enhance all of the flavors.
Filling:
- Cream Cheese: The main ingredient in the cheesecake filling. Use room temperature cream cheese so everything mixes together nicely!
- Sugars: You’ll use both brown sugar and granulated sugar here.
- Biscoff Cookie Butter: The star of the show! This a delicious and nutty flavor to the Biscoff cheesecake.
- Sour Cream: Adds moisture and extra tanginess to the cheesecake.
- Eggs: Bind everything together and give the cheesecake its structure.
- Vanilla Extract: Our trusty flavor enhancer! Use pure vanilla extract if you have it.
Topping:
- Whipped Cream: Add dollops on top for a little extra creamy goodness! It also makes the cheesecake look nice.
- Biscoff Cookies: Add crumbles or whole cookies to garnish your Biscoff cheesecake with.
- Biscoff Cookie Butter: A drizzle to top things off!
Use Full-Fat!
For the best consistency and richness in this Biscoff cheesecake, I recommend using full-fat cream cheese and sour cream. Save that reduced fat cream cheese for other recipes! You will love the difference it creates when you see how velvety and smooth the cheesecake is.
Biscoff Cheesecake Recipe
Homemade cheesecake can be finicky, so make sure you’ve read through all the instructions before you begin. A couple key tips: don’t skip the water bath, and let the Biscoff cheesecake cool in the oven without opening it! This will make sure your cheesecake turns out perfectly rich and creamy without cracks.
- Preheat Oven, Prepare Pan: Preheat the oven to 325 degrees Fahrenheit. Prepare a 10-inch springform pan by spraying lightly with cooking spray.
- Biscoff Crumbs: Add the biscoff cookies to a blender or a food processor and pulse until they become fine crumbs.
- Cookie Butter Mixture: In a medium bowl, combine the cookie crumbs, brown sugar, melted butter, and salt together. This should resemble damp sand.
- Add to Pan: Pour the crumb mixture into the prepared springform pan and press evenly into the pan. You can use the bottom of a flat glass or a flat measuring cup to really press it in well and get a nice, even crust.
- Bake: Bake for 10 minutes. Remove from the oven and set aside to cool completely. Keep the oven on as the cheesecake will bake at the same temperature.
Cheesecake Filling
- Beat Cream Cheese: Add the softened cream cheese to the mixing bowl of a stand mixer and beat with a paddle at medium-high speed for about 1 minute. Scrape down the sides and bottom of the bowl and beat for a few seconds more.
- Mix in Sugar and Cookie Butter: Add the brown sugar and granulated sugar and beat for 1 minute on medium-high speed. Scrape the bowl again and mix for 1 more minute. Add in the cookie butter and mix until combined before scraping down the bowl again. Add the sour cream and mix until combined, scraping down the bowl again.
- Mix in Eggs: Add the eggs one at a time and beat on low speed until combined, about 30 seconds-1 minute. Scrape down the bowl as needed, which will help create a smooth batter.
Prepare the Water Bath
- Wrap Springform Pan: Using 18-inch heavy-duty aluminum foil, wrap the outside of the springform pan with 4 sheets of foil, ensuring the sheets are long enough to go up all sides of the pan. You can use regular foil, but it may take a couple more sheets to ensure the water does not get into the pan.
- Place in Roasting Pan: Place the wrapped pan in a deep roasting pan. You can alternatively use a baking sheet, so long as the sides are about 2 inches deep.
- Add Cheesecake Batter: Add the cheesecake batter to the pan and smooth over the top of it.
- Surround With Water: Using very hot water, add water to the baking pan until there is about 1 ½ inches of water around the springform pan. carefully move the baking pan to a rack in the oven that is positioned in the lower third of the oven.
Keep it Moist
Using a water bath is the only way to get an even bake on your cheesecake and avoid graininess and cracking. If you don’t want to place your Biscoff cheesecake in a water bath, you can achieve similar results by putting the pan of water on the rack directly beneath the cheesecake.
Bake The Cheesecake
- Bake: Bake for 1-1 ½ hours. After about an hour of baking, check the cheesecake’s consistency. A slight jiggle of the pan (while still in the oven) should tell you if it’s ready or needs more time. The cheesecake should be jiggly, but not liquid. If it seems very liquid still, give it 15 more minutes and check it again.
- Cool in the Oven: Once the cheesecake is fairly firm but still has a slight wobble, turn the oven off but leave the cheesecake in the oven for another hour or so, until the oven has cooled down. Resist the temptation to open the oven during this time! The purpose of this step is to allow the cheesecake to cool slowly as the oven cools. Doing this will prevent it from cracking, as one of the biggest reasons cheesecakes crack is the drastic temperature change going from the hot oven into the much cooler kitchen.
- Remove Foil Lining: Once the oven and the cheesecake are cooled, remove from the oven and carefully remove the foil lining the pan.
Chill and Serve
- Chill: Chill Biscoff cheesecake in the fridge for 4-6 hours, or overnight before serving.
- Add Toppings and Enjoy: Before serving top the cheesecake with melted cookie butter, whipped cream, and biscoff cookies and cookie crumbs.

Tips for Successful Biscoff Cheesecake
If you’ve made it this far, congrats! These tips will ensure that your Biscoff cheesecake turns out perfectly rich and creamy, packed with cookie butter flavor that will have you wanting another slice.
- Don’t Overbeat: Remember, overbeating your batter invites unwanted air into the mix. This can cause the batter to rise uncontrollably or fall flat during baking.
- Grease Your Spring Form Pan: Even if your trusty springform pan has a non-stick surface, don’t be tempted to skip greasing it. Think of it as giving your Biscoff cheesecake an extra layer of insurance for a smooth and effortless release. You don’t want all that hard work to end up falling apart!
- No Peeking: After all the effort you’ve put into creating the perfect water bath for your cheesecake, it’s crucial to let it work its magic. So don’t peek! Every time you open the oven door, you release that precious steam and risk exposing your delicate cheesecake to sudden temperature changes. This can cause it to crack.
- Let it Cool: You will know your cheesecake is done when there is a slight wobble to the center. Don’t stick a knife or a thermometer inside it. It will cause it to crack. Once it’s done, turn off the oven and let it come to room temperature inside the oven. This takes about an hour. Patience is key!

How Long Does Biscoff Cheesecake Last?
Lucky you if you have leftovers! Store leftover Biscoff cheesecake in an airtight container or covered in plastic wrap the fridge for up to 5 days.
Can Biscoff Cheesecake Be Frozen?
Yes it can! Once baked and cooled, leave the cheesecake in the fridge until completely chilled. Don’t add the topping yet! Place the cheesecake on a parchment-lined baking sheet and freeze for 4-6 hours, or until solid. Double or triple-wrap the whole cheesecake with plastic wrap for more protection, followed by a layer of aluminum foil. Freeze for up to 3 months and then thaw overnight in the fridge when you’re ready to enjoy it again.

Try These Other Homemade Cheesecake Recipes Next:
Pin this now to find it later
Pin It
-
Preheat the oven to 325 degrees Fahrenheit. Prepare a 10-inch springform pan by spraying lightly with cooking spray.
-
Add the biscoff cookies to a blender or a food processor and pulse until they become fine crumbs.
-
In a medium bowl, combine the cookie crumbs, brown sugar, melted butter, and salt together. This should resemble damp sand.
-
Pour the crumb mixture into the prepared springform pan and press evenly into the pan. You can use the bottom of a flat glass or a flat measuring cup to really press it in well and get a nice, even crust.
-
Bake for 10 minutes. Remove from the oven and set aside to cool completely. Keep the oven on as the cheesecake will bake at the same temperature.
Cheesecake Filling
-
Add the softened cream cheese to the mixing bowl of a stand mixer and beat with a paddle at medium-high speed for about 1 minute. Scrape down the sides and bottom of the bowl and beat for a few seconds more.
-
Add the brown sugar and granulated sugar and beat for 1 minute on medium-high speed. Scrape the bowl again and mix for 1 more minute. Add in the cookie butter and mix until combined before scraping down the bowl again. Add the sour cream and mix until combined, scraping down the bowl again.
-
Add the eggs one at a time and beat on low speed until combined, about 30 seconds-1 minute. Scrape down the bowl as needed, which will help create a smooth batter.
Bake The Cheesecake
-
Using 18-inch heavy-duty aluminum foil, wrap the outside of the springform pan with 4 sheets of foil, ensuring the sheets are long enough to go up all sides of the pan. You can use regular foil, but it may take a couple more sheets to ensure the water does not get into the pan.
-
Place the wrapped pan in a deep roasting pan. You can alternatively use a baking sheet, so long as the sides are about 2 inches deep.
-
Add the cheesecake batter to the pan and smooth over the top of it.
-
Using very hot water, add water to the baking pan until there is about 1 ½ inches of water around the springform pan. carefully move the baking pan to a rack in the oven that is positioned in the lower third of the oven.
-
Bake for 1-1 ½ hours. After about an hour of baking, check the cheesecake’s consistency. A slight jiggle of the pan (while still in the oven) should tell you if it’s ready or needs more time. The cheesecake should be jiggly, but not liquid. If it seems very liquid still, give it 15 more minutes and check it again.
-
Once the cheesecake is fairly firm but still has a slight wobble, turn the oven off but leave the cheesecake in the oven for another hour or so, until the oven has cooled down. Resist the temptation to open the oven during this time! The purpose of this step is to allow the cheesecake to cool slowly as the oven cools. Doing this will prevent it from cracking, as one of the biggest reasons cheesecakes crack is the drastic temperature change going from the hot oven into the much cooler kitchen.
-
Once the oven and the cheesecake are cooled, remove from the oven and carefully remove the foil lining the pan.
-
Chill in the fridge for 4-6 hours, or overnight before serving.
-
Before serving top the cheesecake with melted cookie butter, whipped cream, and biscoff cookies and cookie crumbs.
Calories: 802kcalCarbohydrates: 63gProtein: 11gFat: 57gSaturated Fat: 29gPolyunsaturated Fat: 4gMonounsaturated Fat: 12gTrans Fat: 0.3gCholesterol: 202mgSodium: 419mgPotassium: 233mgFiber: 0.3gSugar: 47gVitamin A: 1655IUVitamin C: 0.2mgCalcium: 145mgIron: 1mg
Nutrition information is automatically calculated, so should only be used as an approximation.
